Own development model for Integrated Management of Technological Innovation.
In IDEKO, we are decidedly geared towards obtaining results from our R&D. Only when an enterprise converts our added value into business value, we consider our R&D&i job done.
That is the reason we try to involve the company from the earliest phases of our research, for which we rely on different collaboration models.
Below some successful examples and benefits of these collaborations are shown.

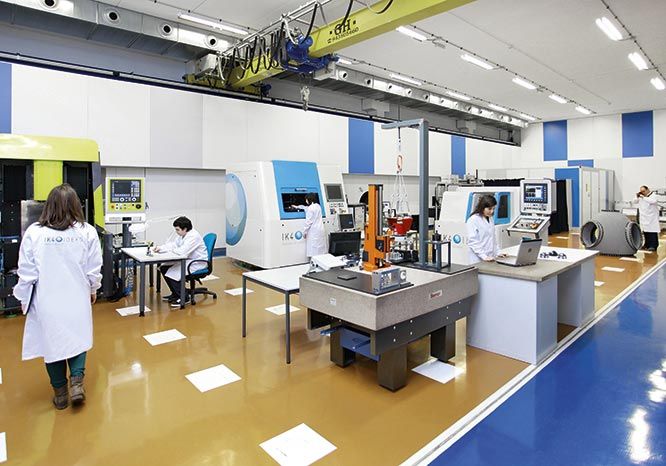
We have a complete set of Zeiss equipment for dimensional measurement of forms, profiles and roughness of standard parts. Measurements with sub-micron precision requirements are made with the most accurate machines on the market: the Zeiss F25 coordinate measuring machine and the Sensofar PLU Neox optical profiler.
In addition to this equipment, our Zeiss electronic microscope enables us to make measurements with a million increments, and to analyse chemical compositions.
In addition to verifying the geometry, it is increasingly important to ensure that manufactured parts do not change or suffer any damage throughout their life. Measurement of residual stresses allows the life of the part to be determined and ensured during fatigue processes, preventing breakage and appearance of cracks.
The use of our portable X ray diffractometer is the easiest non destructive method for making these measurements directly on the part, without the need to damage it or take samples.
To guarantee quality machining operations and production processes, all machines employed require thorough verification and setting. IK4-IDEKO provides these machine verification and setting services, following standards for linear and volume errors, and angular positioning.
As a complementary service, vibration analysis on the machine is performed
Thermographic inspection enables risk points and the ultimate strength of the components to be quickly and reliably established, verifying the integrity of parts throughout their life. This is a non destructive method based on the response of a part to heat, and that is used instead of traditional strength tests.
The method enables us to determine surface and internal defects of metal and composite material components (cracks, delaminations, voids, etc.).
Quick and efficient measurement of large parts can be made using photographic methods. Our photogrammetric equipment allows us to make in-situ geometrical measurements with a precision greater than 1/10,000, with just a prior graphic marking of the part and the taking of a series of photographs. The system allows the dimensions to be checked against the drawing (CAD).
Non-destructive testing (NDT) of quality of part:
-Surface defects (ultrasound, etc.)Development of contactless dimensional measuring systems (1d/2d/3d) by means of laser and advanced optical techniques.
Development and integration of inspection and measuring systems on machines and production lines.
Suscribe to our newsletter to keep abreast of the special offers, products or new applications.